
How to Groom Your Corgis at Home 101: Steps, Tips and More

Corgis are known for their thick double coats, short legs, and active personalities. Learning how to groom your corgis at home ensures their coat stays clean, comfortable, and free of loose undercoat.
Because Corgis have dense double coats, bathing requires more than simply wetting the surface. The coat should be fully saturated and dried completely to prevent trapped moisture.
This guide explains how to groom your corgis at home, from brushing to shampooing and drying. Proper care prevents matting and reduces the amount of fur left around your house.

How Often Should You groom your corgis at home?
Most Corgis do not need frequent baths, but they do benefit from consistent coat care. The ideal schedule depends on activity level and shedding.
Too many baths can strip natural oils from the skin. This may lead to dryness or irritation in the dense undercoat.
A typical Corgi coat-care schedule includes:
- Brushing: Two to three times per week
- Brushing during shedding season: Daily or as needed
- Bathing: Approximately every four to eight weeks
- Paw and belly cleaning: After muddy walks
- Ear checks: Once per week
Your dog may need care sooner after swimming or playing in mud. Always follow veterinarian-recommended schedules for skin conditions.
Corgi Bathing Supplies
Gather your supplies before you begin. Having everything ready reduces the amount of time your dog spends wet and anxious.
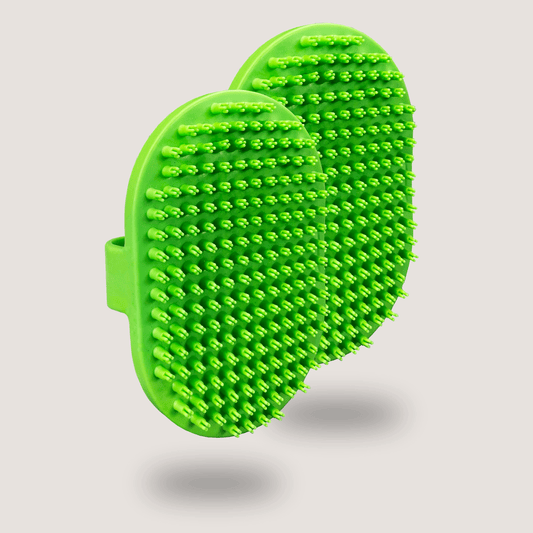
- Slicker brush or pin brush
- Undercoat rake or de-shedding brush
- Stainless-steel grooming comb
- Gentle, pH-balanced dog shampoo
- Dog-safe conditioner
- Non-slip bath mat
- Handheld sprayer or rinsing cup
- Several absorbent towels
- Low-heat or high-velocity pet dryer
- Soft washcloth
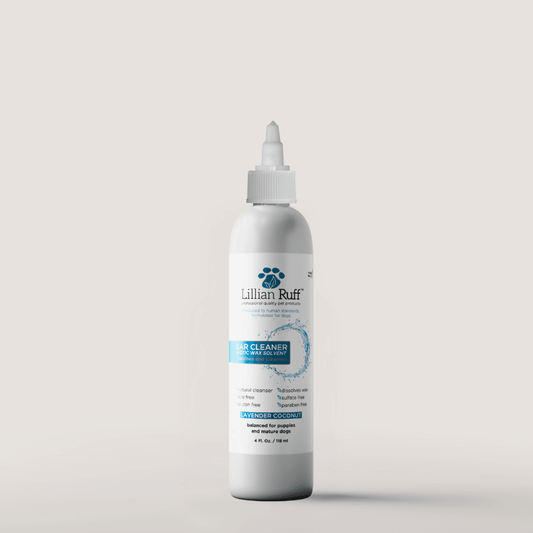
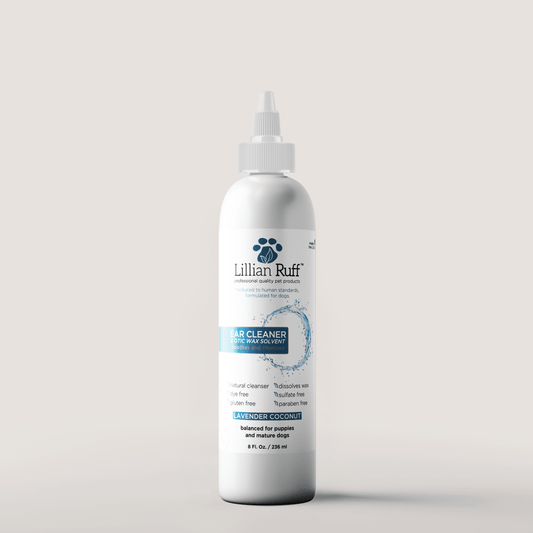
- Dog ear-cleaning solution
- Treats for positive reinforcement
Avoid using human shampoo or soap. These may be too harsh for a dog's skin and dense double coat, potentially causing irritation.
Step 1: Inspect the Skin and Coat
Before you groom your corgis at home, examine the skin carefully. Part the fur to see beneath the topcoat for any abnormalities.
This step allows you to identify issues before they are masked by soap or water. It ensures the bath is safe for the dog.
Look for:
- Red or irritated skin
- Dry or flaky areas
- Bumps or hot spots
- Fleas or ticks
- Hair loss
- Unusual odors
- Excessive scratching
Contact your veterinarian if you notice swelling or discharge. Bathing products support hygiene but cannot treat medical conditions.
Step 2: Brush the Coat Before Bathing
Brush thoroughly before the bath to remove loose fur. This is vital as wet undercoat compacts and becomes harder to remove.
Removing debris first also prevents mud from being pushed deeper into the coat during the scrubbing process.
Use a slicker brush or rake in the direction of hair growth to avoid pulling on the skin.
Pay attention to:
- The neck and shoulders
- The chest
- Behind the front legs
- The stomach
- The hindquarters
- The tail area
- Behind the ears
Spend extra time removing loose undercoat during seasonal shedding periods to prevent heavy matting.
Step 3: Work Through Tangles
Tangles can develop behind ears or where a harness creates friction. It is easier to groom your corgis at home if knots are removed first.
Water can tighten knots, making them nearly impossible to remove after the bath. Address these areas while the fur is dry.
Hold hair close to the skin and loosen knots gently from ends to roots to minimize discomfort.
Do not pull forcefully. Severe matting may require a professional groomer to avoid cutting the skin.
Step 4: Prepare a Safe Bathing Area
Place a non-slip mat in the tub. Short legs can make slippery surfaces uncomfortable and scary during the process.
A secure footing helps the dog stay calm. It prevents them from sliding, which reduces stress for both the pet and owner.
Keep towels and the sprayer within reach. Use lukewarm water rather than very hot or cold water to keep them calm.
Use treats to help nervous dogs feel more comfortable and associate bathing with positive rewards.
Step 5: Wet the Coat Thoroughly
A double coat may resist water. Take your time to fully saturate the fur when you groom your corgis at home.
If the undercoat remains dry, the shampoo will not reach the skin. This leads to an ineffective clean.
Work from the shoulders to the tail. Use fingers to help water reach the skin through the dense fur.
Ensure the undercoat feels wet, not just the outer hair. This prevents shampoo from sitting on the surface.
Clean the face separately with a damp washcloth to avoid getting water in the eyes and ears.
Step 6: Apply Dog Shampoo
Massage gentle shampoo through the coat. Work in sections to ensure product reaches the denser areas.
Rubbing in a circular motion helps break up dirt and oils trapped within the thick fur.
Focus on areas where dirt collects:
- The neck and chest
- Under the front legs
- The stomach
- The legs and paws
- The hindquarters
- The tail area
Corgis collect debris along their low bellies. Pay extra attention to these areas during the scrub.
Use gentle pressure to avoid irritation. Do not scratch with fingernails, as this can damage the skin.
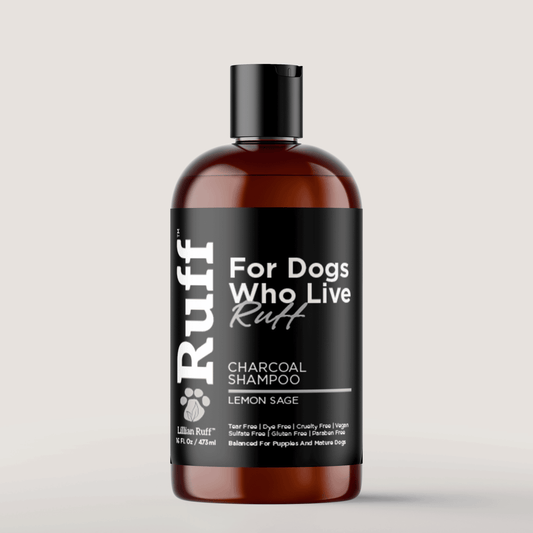
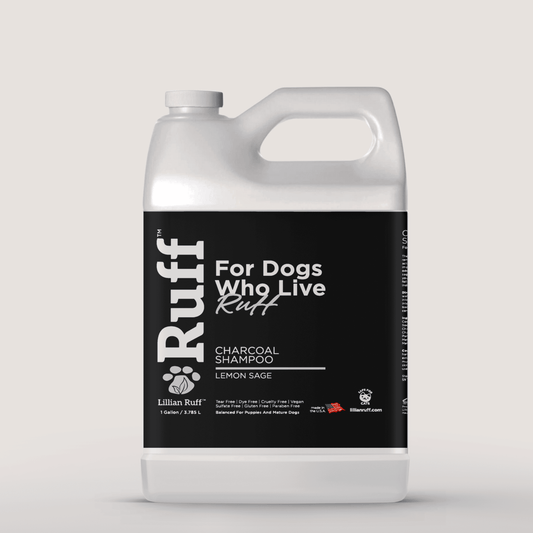
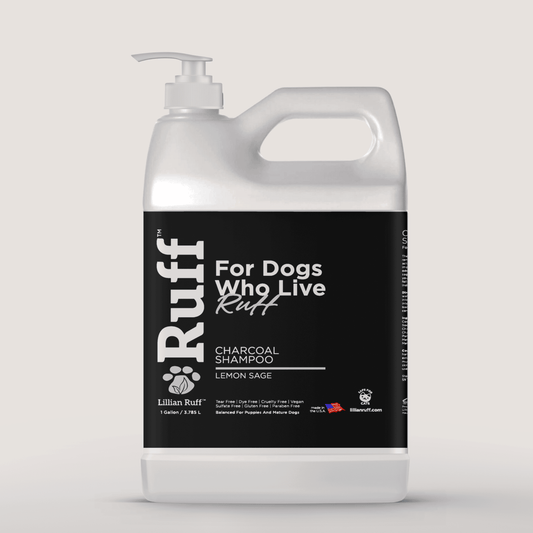
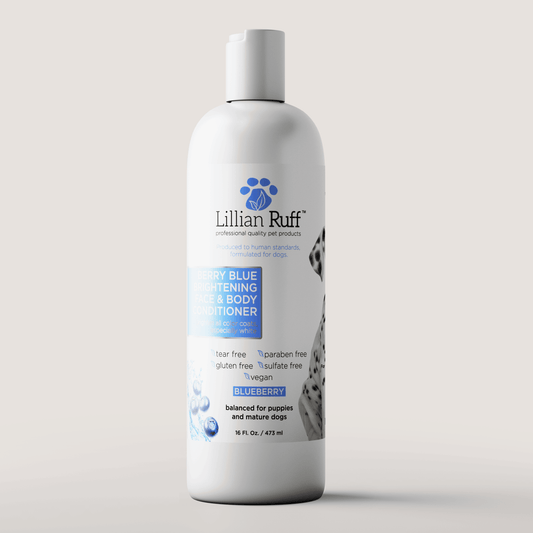
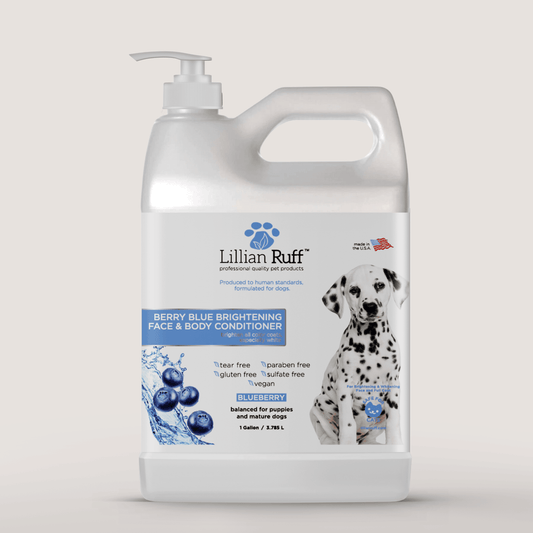
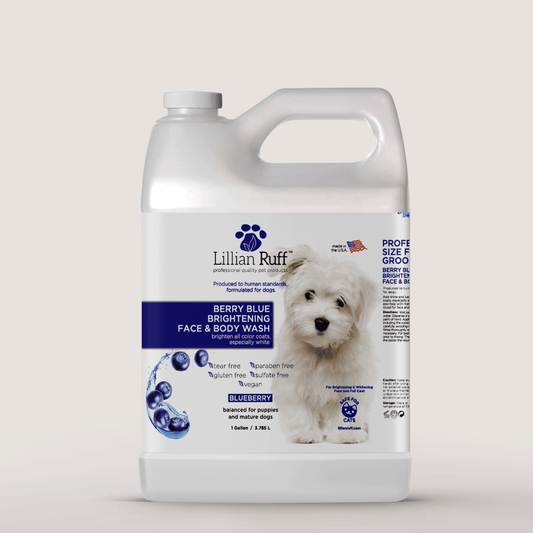
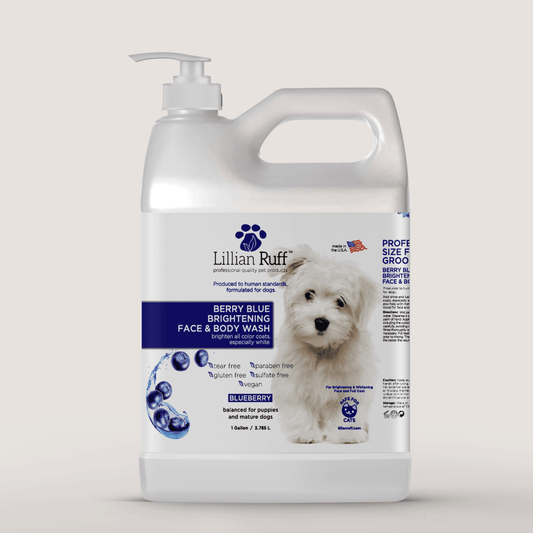
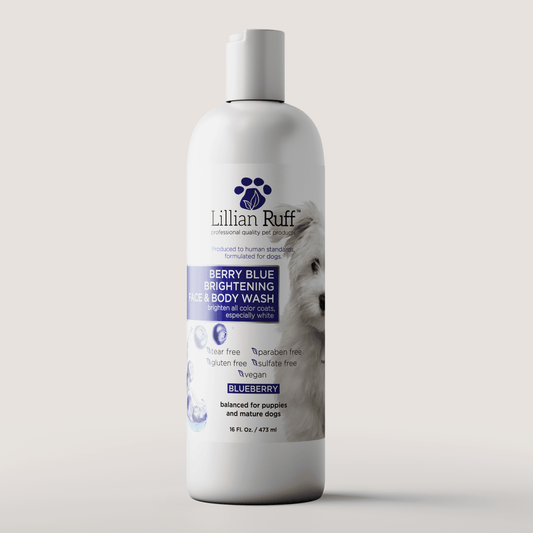
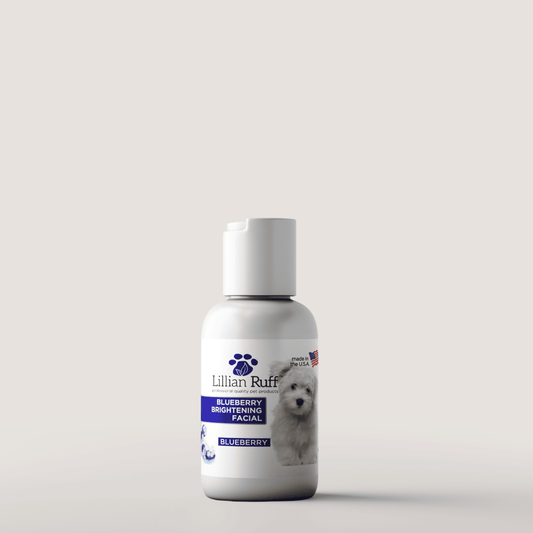
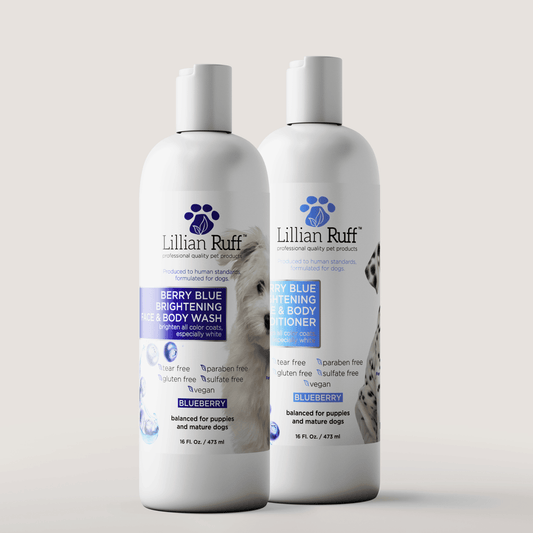
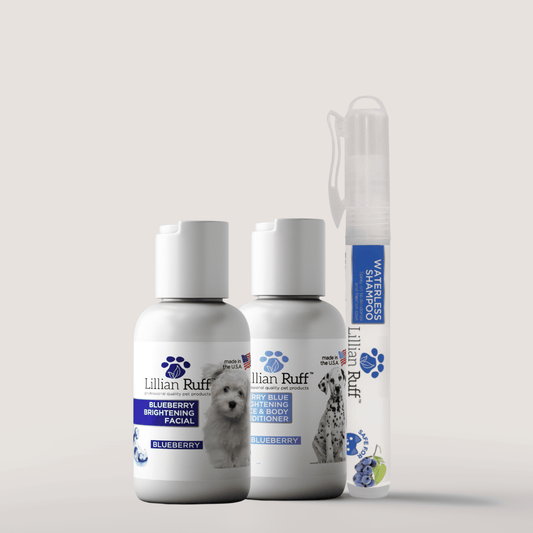
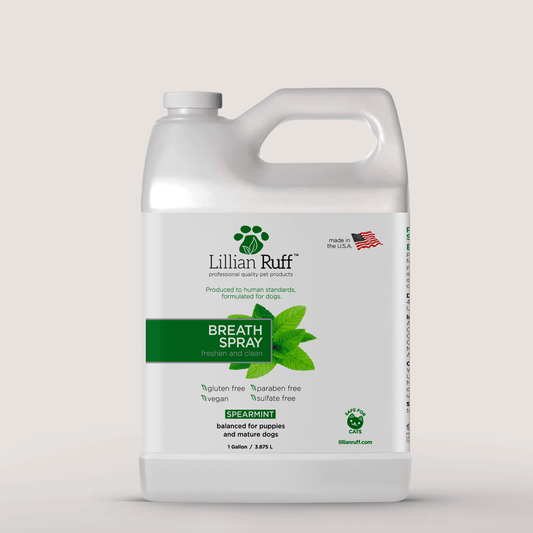
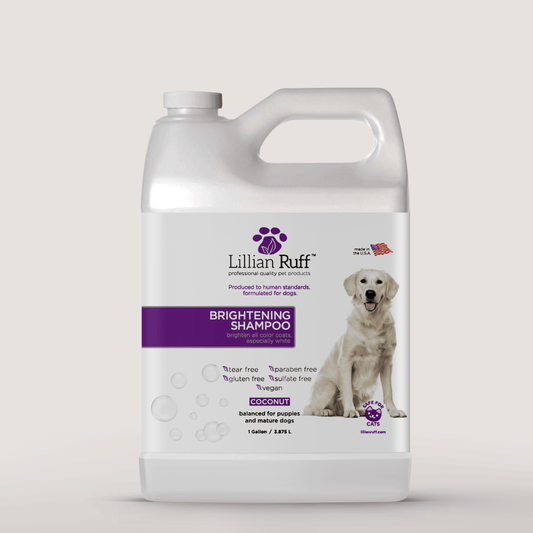
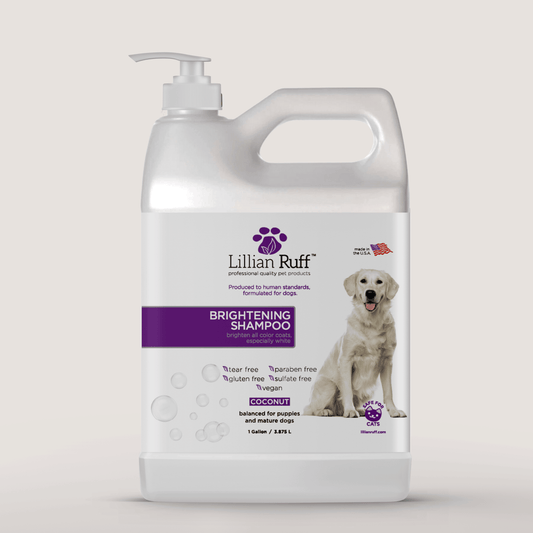
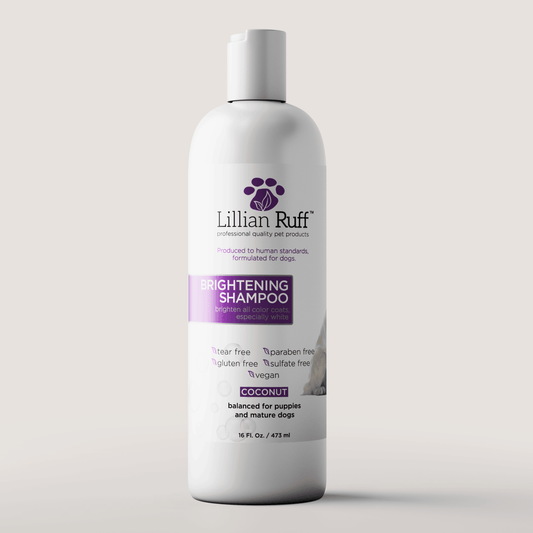
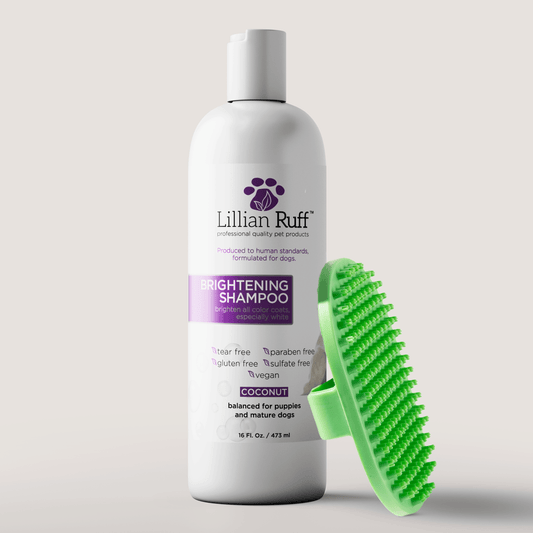
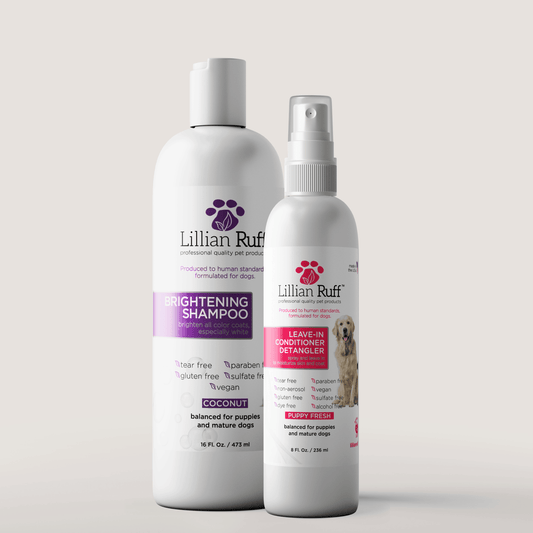
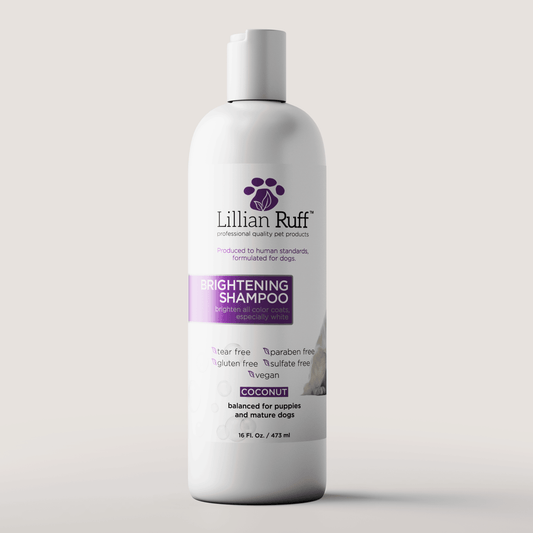
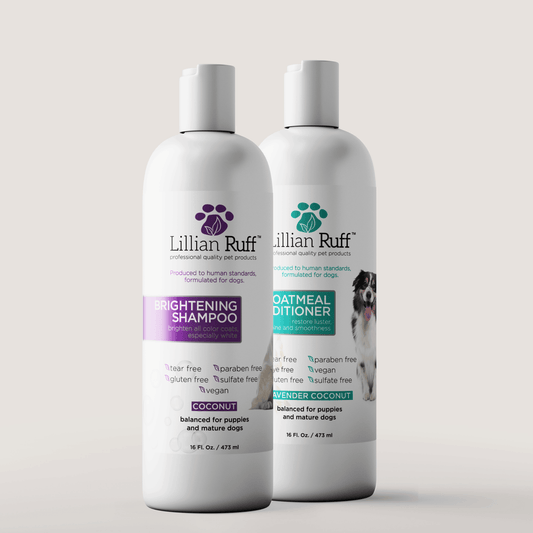
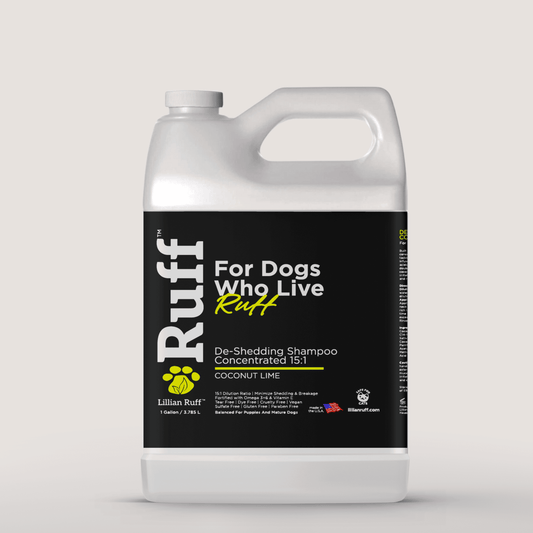
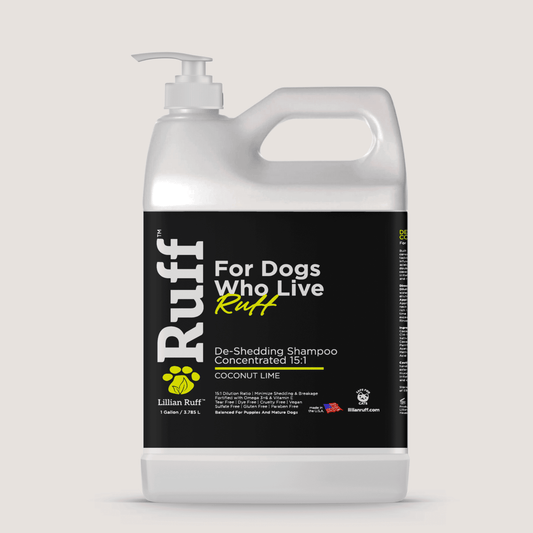
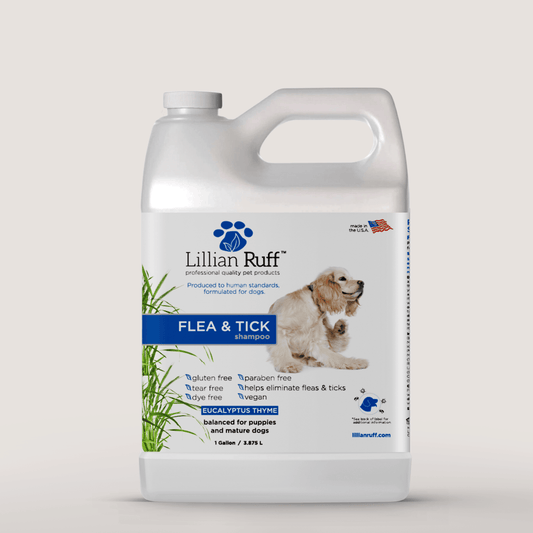
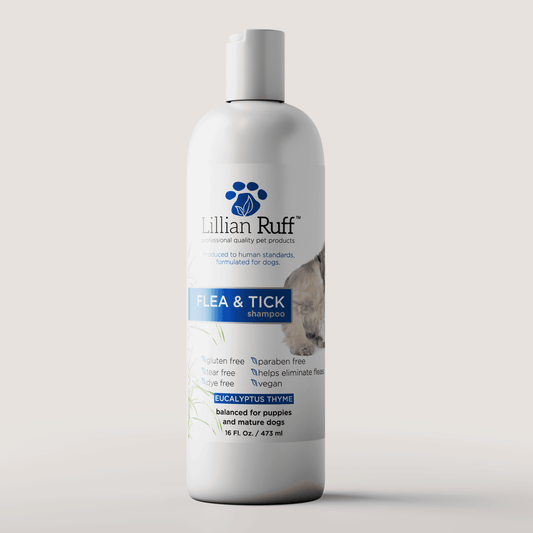
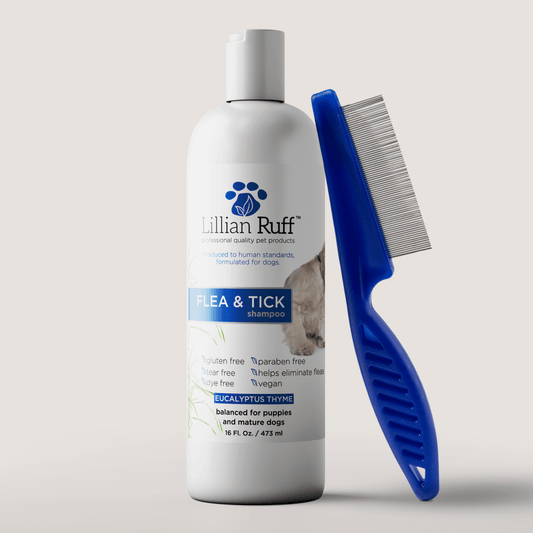
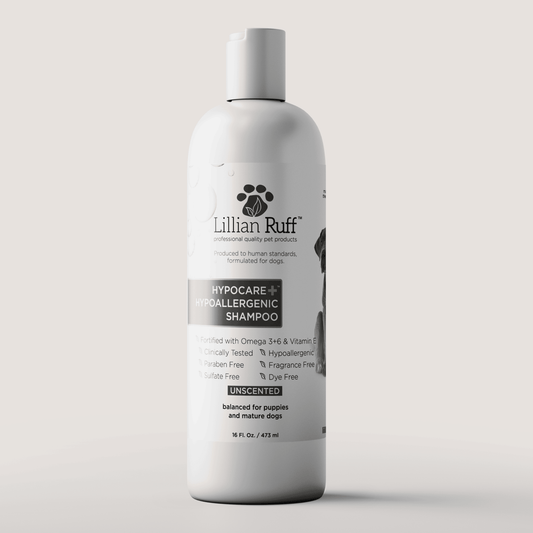
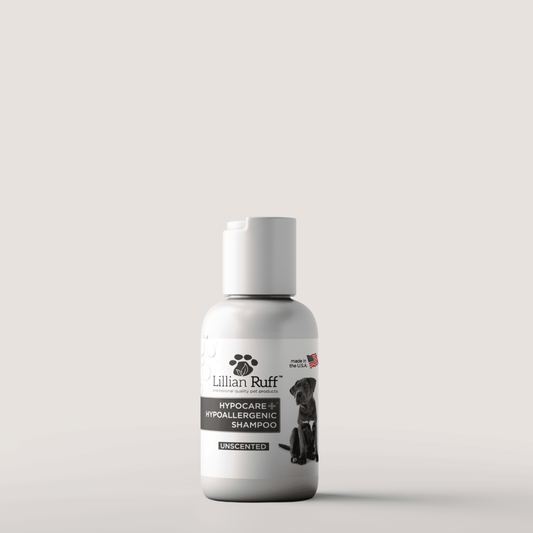
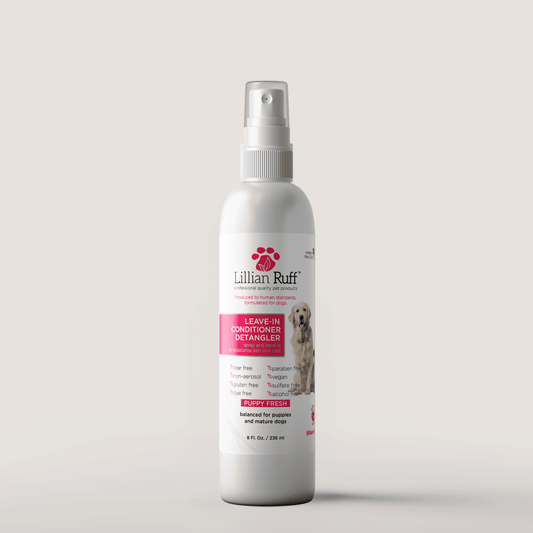
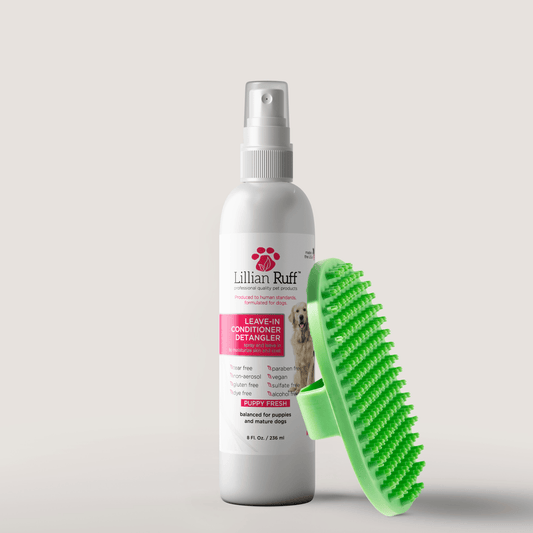
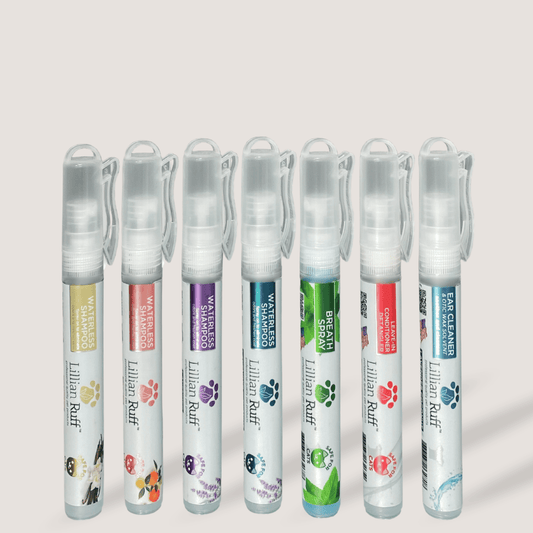
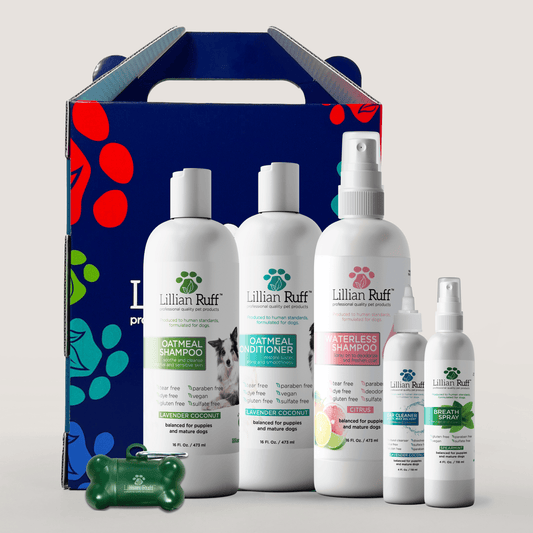
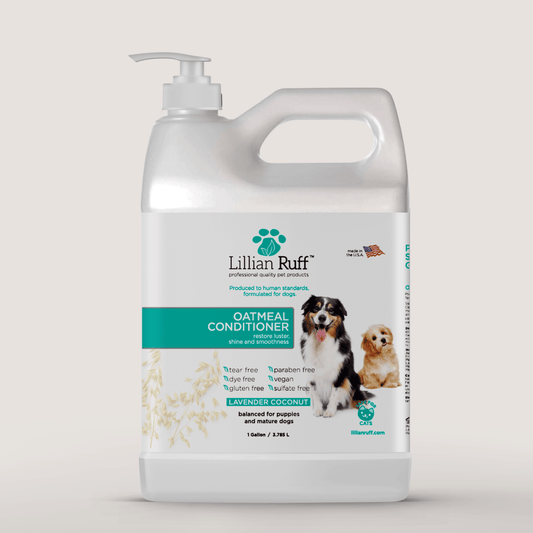
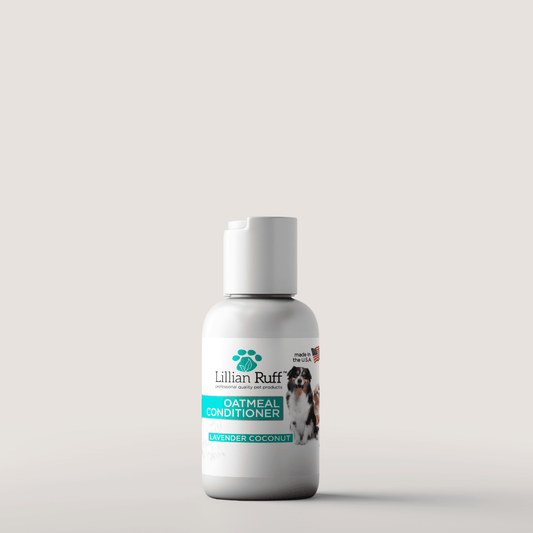
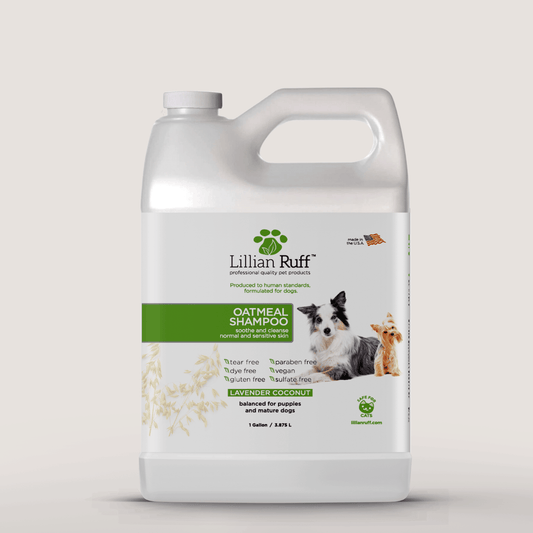
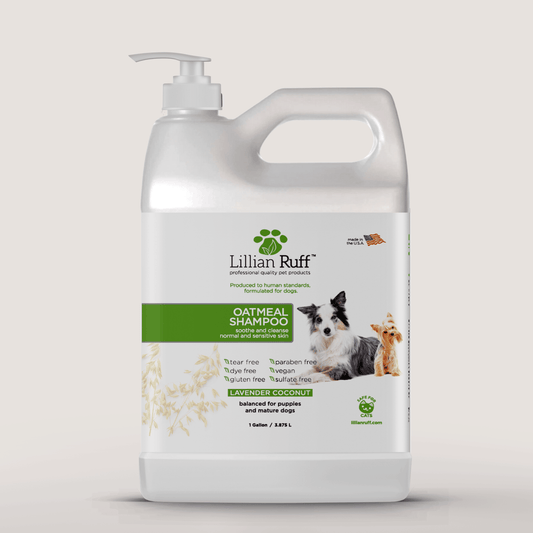
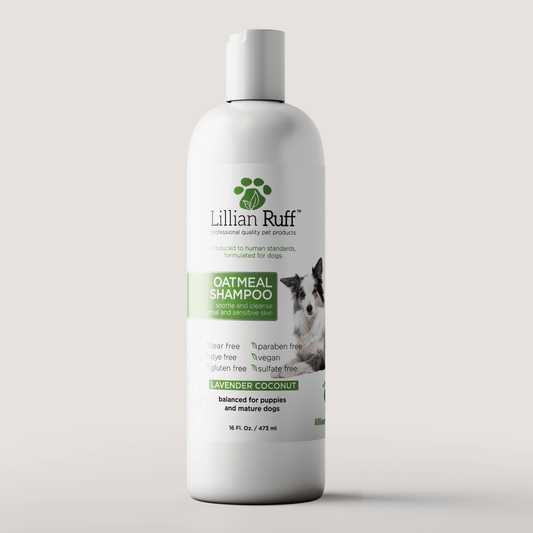
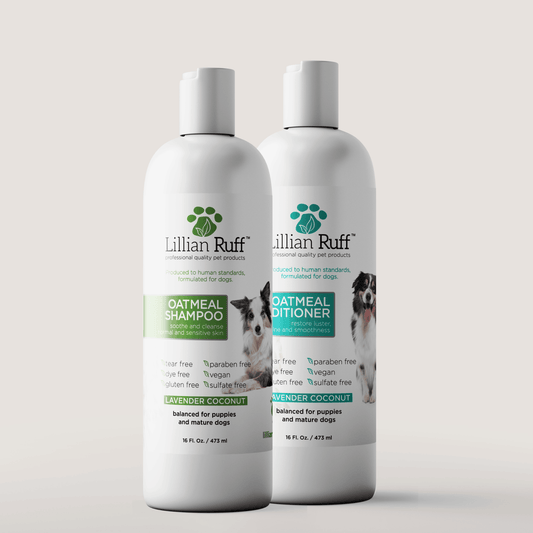
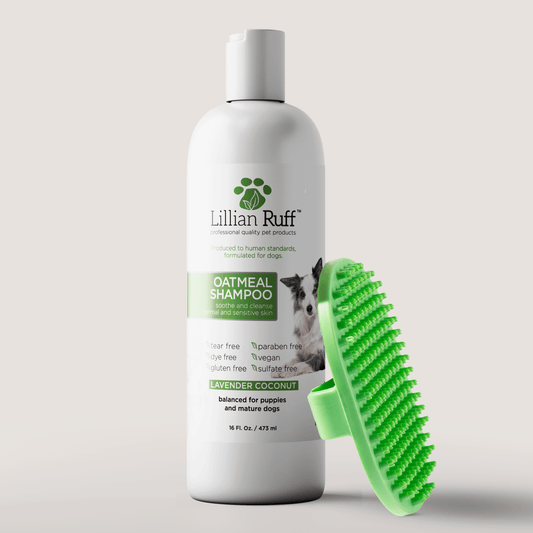
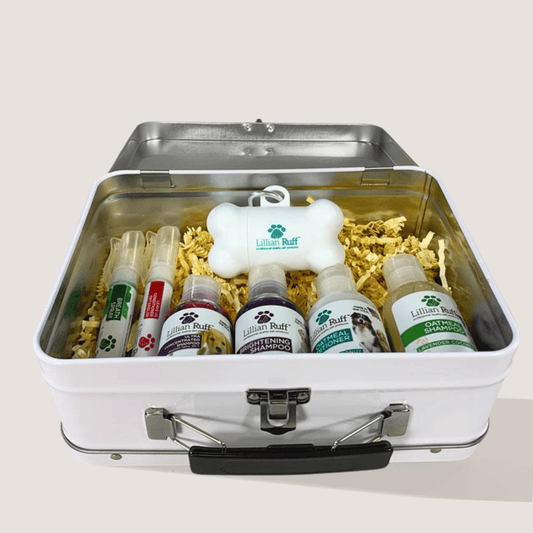
Explore the Lillian Ruff pet shampoo collection to help groom your corgis at home effectively.
Step 7: Clean the Face Carefully
Use a damp washcloth to clean the muzzle and cheeks. This avoids the risk of soap entering the nasal passages.
Avoid using the shower head directly on the face. This prevents the dog from panicking or inhaling water.
Wipe gently around the eyes. Do not let shampoo enter the ear canals, as this can lead to infections.
Remove product with a clean cloth rather than spraying the face directly.
Step 8: Rinse the Coat Thoroughly
Rinse from the neck toward the rear. Continue until the water runs clear and no bubbles remain.
Residual soap can cause extreme itching or flaky skin once the coat dries. This is especially common in double-coated breeds.
Separate the fur with fingers so water reaches the undercoat. Incomplete rinsing can lead to skin irritation.
Pay attention to the chest, stomach, and inner legs. Trapped residue may cause itching or flaking in double-coated breeds.
Step 9: Apply Conditioner
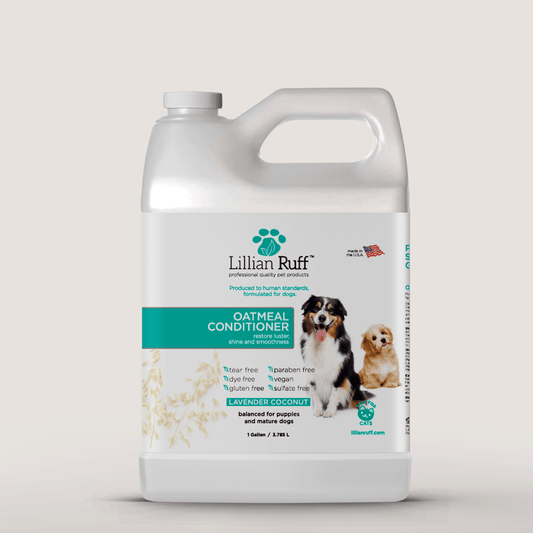
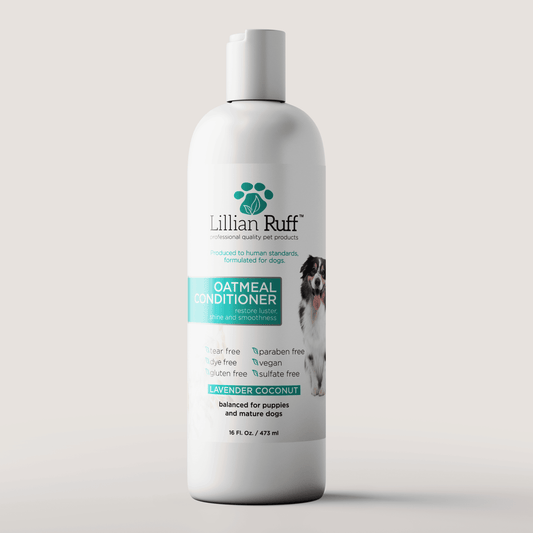
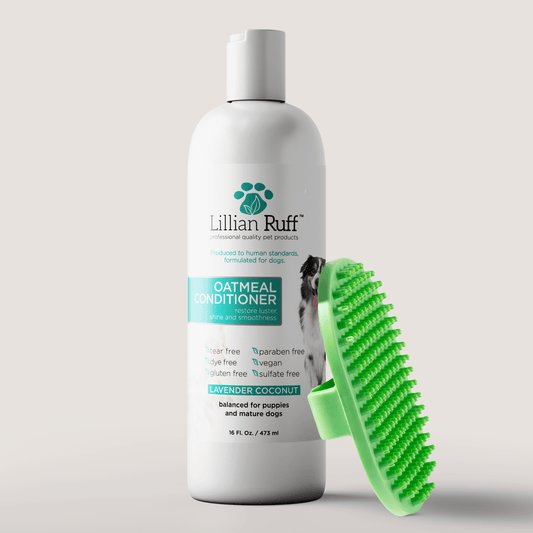
Apply dog-safe conditioner per instructions. This makes loose undercoat easier to remove during maintenance.
Conditioners help seal the hair cuticle. This adds a layer of protection against environmental dirt and allergens.
Focus on the neck, chest, and tail. Avoid the eyes and ears to prevent irritation.
Use only as much as needed to avoid heavy residue that could attract more dirt.
Step 10: Complete the Final Rinse
Rinse again until all conditioner is gone. Separate fur to ensure water reaches the skin completely.
The coat should feel clean, not slippery. This is vital for dense breeds to prevent a greasy feel.
Ensure all product is removed from the paws and belly, as these areas are often overlooked.
Step 11: Squeeze Out Excess Water
Gently press excess water from the coat with your hands. Work from shoulders to hindquarters.
This manual removal of water speeds up the subsequent towel and blow-drying process.
Do not wring the fur, as this can cause tangles. This step significantly reduces overall drying time.
Step 12: Towel-Dry the Coat
Use absorbent towels to press moisture out. Avoid vigorous rubbing to prevent tangles in the undercoat.
Patting the fur is more effective than scrubbing. This maintains the structure of the double coat.
Dry the stomach and paws thoroughly. These areas retain the most moisture and are prone to dampness.
Use a separate soft cloth for the face to ensure a gentle touch.
Step 13: Blow-Dry the Double Coat
Thorough drying is essential. Moisture can remain trapped near the skin, potentially causing hot spots.
Double coats act like sponges. If not dried properly, they can hold humidity for hours.
Use a pet dryer on a cool or low-warm setting. Keep airflow moving to avoid overheating the skin.
Dry the neck, chest, stomach, and tail until the skin feels completely dry to the touch.
Step 14: Brush During Drying
Brush gently while drying to improve airflow and remove loose undercoat. This assists in a faster dry.
This combined technique helps "lift" the coat, ensuring the heat reaches the base of the hair.
Slicker brushes are helpful during shedding seasons. Work in small sections for the best results.
Additional loose fur often comes out during this stage, reducing shedding in your home.
Step 15: Check the Coat After Drying
Run fingers through dense areas to ensure no moisture is trapped against the skin.
Dampness in the undercoat can lead to fungal growth or skin irritation if left untreated.
Check the underarms, stomach, and behind the ears. These areas are often missed during drying.
Continue drying if the fur feels cool or damp to the touch.
Step 16: Check and Dry the Ears
Inspect ears after every bath. Dry only the visible outer ear with a towel carefully.
Water trapped in the ear canal can lead to infections. Ensure the entrance is clear and dry.
Never insert swabs into the ear canal. Use dog-specific cleaners if recommended by your vet.
Contact a vet for redness, swelling, or strong odors noticed during this check.
Step 17: Clean and Dry the Paws and Belly
Rinse away any remaining shampoo or mud from the paws. Ensure the pads are clear of debris.
Check between the toes for trapped hair or small pebbles that may cause discomfort.
Dry the toe areas and chest thoroughly to prevent irritation and keep the pup comfortable.
Check for cracked pads or foreign objects stuck between the toes.
Step 18: Freshen the Coat Between Baths
Brush regularly to manage shedding. This is a key part of your maintenance routine.
Regular brushing prevents the build-up of dead hair, which allows the skin to breathe better.
Wipe muddy legs and bellies after walks to avoid the need for full baths too frequently.
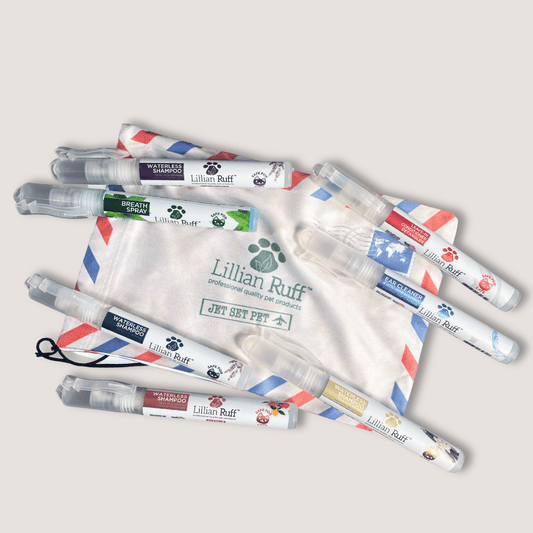
A waterless dog shampoo can also help freshen the coat.
Common Corgi Bathing Mistakes
- Skipping pre-bath brushing
- Using human shampoo
- Using water that is too hot
- Failing to saturate the undercoat
- Applying too much product
- Incomplete rinsing
- Aggressive towel rubbing
- Excessive heat during drying
- Leaving undercoat damp
- Neglecting the chest and belly
- Bathing too frequently
Frequently Asked Questions
How often should I bathe my Corgi?
Every four to eight weeks is typical. This varies based on activity and skin condition.
What kind of shampoo should I use on a Corgi?
Use a pH-balanced dog shampoo. De-shedding or moisturizing formulas can be helpful.
Should I use conditioner on my Corgi?
Yes, a lightweight conditioner helps soften the coat and remove undercoat.
Can I use human shampoo on my Corgi?
No. Human products are too harsh for canine skin.
Why does my Corgi shed more after a bath?
Bathing and drying loosen dead undercoat, making shedding more visible.
Why is my Corgi’s coat difficult to get completely wet?
The dense double coat resists water. Use your fingers to separate the fur.
Can I let my Corgi air-dry?
Air-drying may trap moisture. Low-heat blow-drying is generally better.
Why does my Corgi still smell after a bath?
This may be due to residue, damp fur, or skin conditions. Consult a vet if odors persist.
Keep Your Corgi’s Double Coat Clean and Comfortable
Success comes from preparation and thorough drying. Proper rinsing and brushing keep the skin healthy.
Consistent care prevents the issues associated with dense coats, such as overheating or matting.
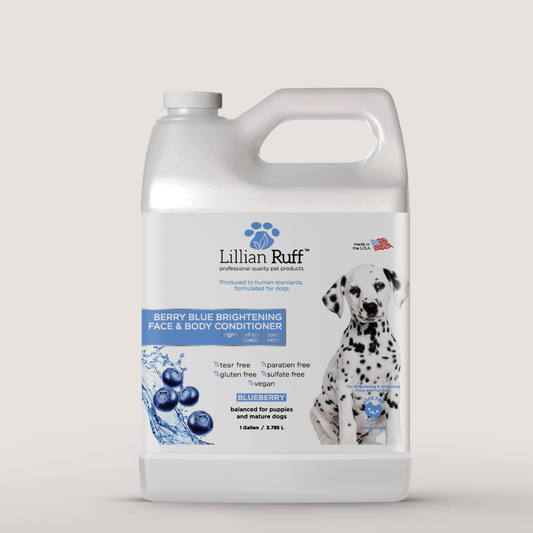
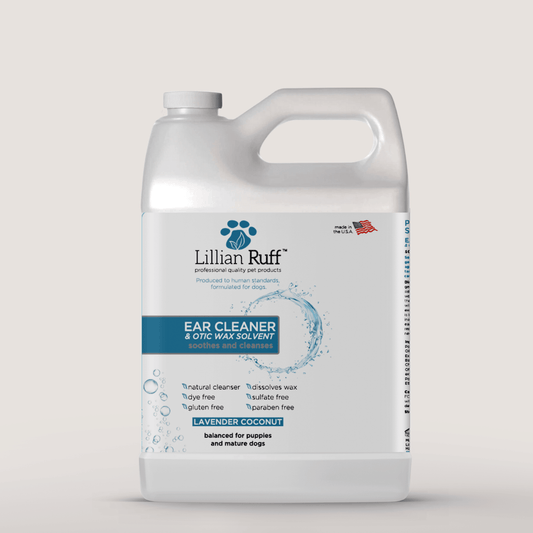
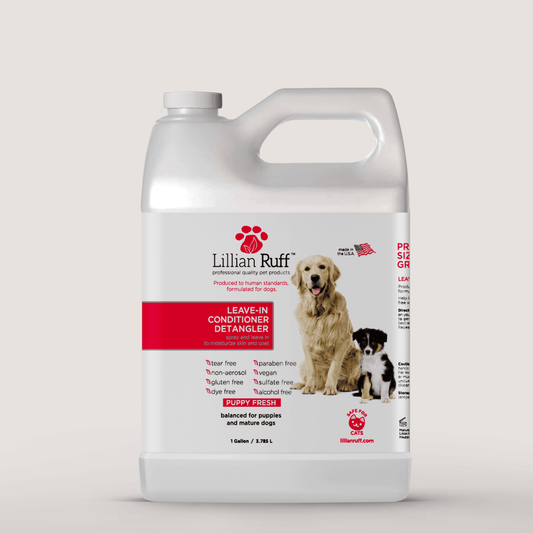
Browse Lillian Ruff’s grooming products to groom your corgis at home with ease.